
Installing Your Honeybee Nuc
/Pickup Day
Once you pick up your nuc box(es), head directly to your apiary, ensuring that the bees do not overheat in the car.
Place the nuc box directly on top of or in place of your hive box. Then, open up the entrance to the nuc box, located on one of the short sides, near the bottom. Bees will likely come pouring out of the box, but don't worry...they'll soon calm down and get to work.
You do not need to light your smoker for this part, but it is a good idea to try our your new bee veil and hive tool. Sometimes we have to tape the entrance, so your hive tool will help in removing that tape and opening the entrance.
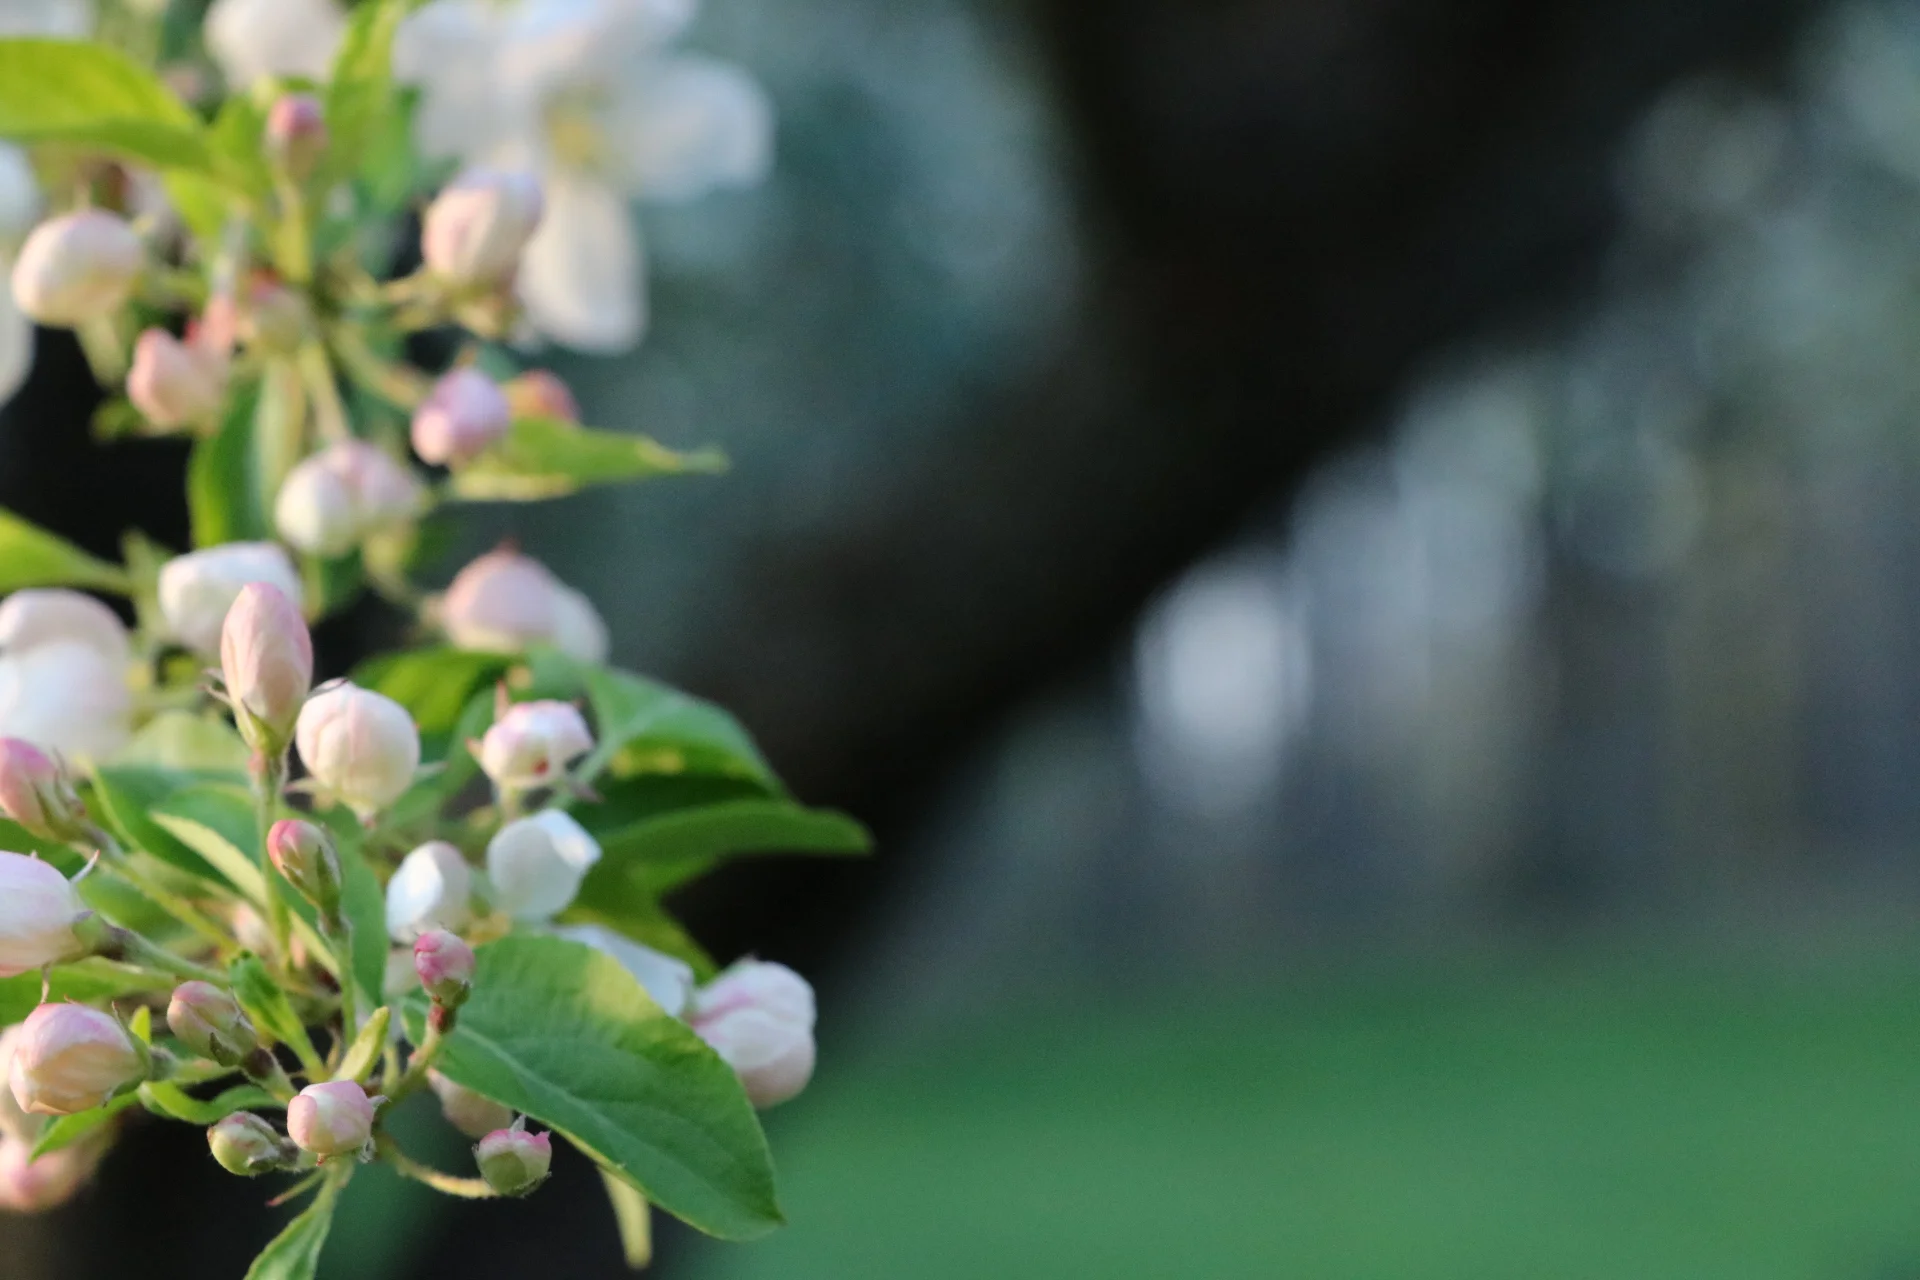
The bees will begin orienting themselves to their new location, so you'll likely see lots of activity around the hive. Pollen and nectar collection begin almost immediately, so take some time to watch them.
After 24 hours
It'll be hard, but we recommend waiting at least 24 hours (or up to one week) before moving the frames of bees from the nuc box into your hive body.
We recorded a quick video to show your our process, and the steps are outlined below.
Step-by-step Nuc Installation Instructions
Light your smoker and put on your veil/jacket/suit.
Gently puff a bit of smoke near the entrance of the nuc box, then crack open the lid and put some smoke across the tops of the frames.
Starting from one side of the box, gently lift each frame from the nuc box and place it into the hive body. It's important to maintain the order and direction of each of the frames during this transfer, as the bees have arranged their resources in a particular way.
Once all frames have been transferred, there may be some bees remaining in the nuc box. If so, hold the nuc box upside down over the hive and give it a firm tap. Most of the bees will fall into the hive.
Fill in empty frames on either side of the frames you just installed, keeping the nuc frames toward the center of the box. Be sure to completely fill the box with the appropriate number of frames, either 8 or 10.
Ensure the entrance reducer is set to one of the smaller openings.
Replace your inner cover.
IF LIQUID FEEDING WITH AN IN-HIVE FEEDER: Put an empty box, either deep or medium, on top of the inner cover. Fill your feeder with 1:1 syrup and place feeder on top of the inner cover, inside the empty box.
Replace the outer cover.
Sit back and watch the bees!
One week later
It's time to do your first hive inspection!